
You published posts, waited, and your Shopify blog still isn’t moving the needle. No traffic surge, no engagement, no conversions. If that sounds familiar, you’re dealing with what SEO practitioners call “blog underperformance.” The good news: when you fix underperforming Shopify blog issues systematically, the results compound fast. Most store owners are one diagnostic session away from understanding exactly why their blog isn’t working. This guide walks you through the full workflow, from identifying indexing failures to refreshing content and fixing page speed, with Shopify-specific tools and real fixes at every step.
Table of Contents
Key Takeaways
| Point | Details |
|---|---|
| Diagnose before you fix | Use Google Search Console Coverage reports to identify indexing errors before touching any content. |
| Content refresh beats new posts | Updating existing posts with better titles, visuals, and internal links often drives more traffic than publishing from scratch. |
| Core Web Vitals matter on blogs too | Slow load times and poor interactivity hurt rankings and push readers away before they convert. |
| Internal links connect blog to revenue | Linking posts to product collections turns editorial content into a sales asset, not just a traffic play. |
| Maintenance is the real strategy | Regular audits, pruning low-value posts, and monitoring performance keep your blog compounding over time. |
Fix Underperforming Shopify Blog: Start with Indexing
Before you rewrite a single word, you need to know whether Google can even find your posts. Indexing problems are the most common and most overlooked reason a Shopify blog sits invisible in search results. The fix starts in Google Search Console.
Open the Coverage report (now called the Indexing report in newer Search Console versions) and look at three categories: errors, valid with warnings, and excluded. Errors like “Server error (5xx)” or “Submitted URL not found (404)” mean Google tried to crawl your post and hit a wall. Excluded pages, especially those flagged as “Crawled, currently not indexed,” are posts Google visited but decided weren’t worth including. That second category is where most Shopify blogs bleed traffic without realizing it.
For specific URLs, use the URL Inspection tool. Paste in a blog post URL and it tells you whether the page is indexed, what the last crawl date was, and whether any issues blocked indexing. Common culprits on Shopify blogs include:
-
A "noindex` tag accidentally left on from a theme setting or app
-
Canonical tags pointing to a different URL, often caused by duplicate content from Shopify’s default URL structure
-
Robots.txt rules blocking certain blog paths
-
Thin content signals that cause Google to deprioritize the page
Once you identify the issue, fix it at the source. Then, and only then, use the “Request Indexing” button. Requesting indexing repeatedly without resolving the underlying problem wastes your daily quota and doesn’t accelerate anything. Treat it as a post-fix nudge, not a publishing ritual.
Pro Tip: Separate your indexing audit from your content audit. Run the Coverage report first, export the list of excluded URLs, and cross-reference with your blog post list. Fix technical blocks before evaluating whether the content itself needs work.
The Google Search Console Coverage report paired with GA4 engagement data gives you a complete picture of which URLs are invisible and which are visible but underperforming. These are two different problems with two different solutions.
Improving content relevance and engagement
Once you confirm your posts are indexed, the next question is whether they deserve to rank. Low engagement metrics, high bounce rates, and zero organic clicks are signals that your content isn’t matching what searchers actually want.

Start by auditing your existing posts in GA4. Sort by organic sessions and look at average engagement time. Posts with fewer than 30 seconds of average engagement time and minimal scroll depth are candidates for either a refresh or removal. Pruning low-value content is not a loss. It concentrates your site’s authority on posts that actually perform.
For posts worth saving, a targeted content refresh often delivers more results than writing something new. A focused refresh strategy produced a 120% traffic increase in documented case studies, with improvements concentrated in posts that had existing impressions but low click-through rates. Here’s what a real refresh looks like in practice:
-
Rewrite the title tag and H1 to match current search intent more precisely
-
Update the meta description to include a clear benefit and natural keyword variation
-
Add or replace images with properly compressed, descriptive files
-
Break up dense paragraphs and add subheadings for scannability
-
Insert internal links to relevant product collections and related posts
That last point deserves its own emphasis. Internal links from blog posts to collections and product pages improve crawlability and send ranking signals to your money pages. Shopify recommends roughly 2 to 5 internal links per 1,000 words, focused on relevance rather than volume. Overlinking with generic anchor text like “click here” does more harm than good.
“The biggest SEO gains on Shopify blogs come from tightly connecting editorial content with monetized collections and maintaining a clear site structure.” — Shopify SEO complete playbook
One pattern that kills blog performance quietly is keyword cannibalization. If you have three posts all targeting “best running shoes for flat feet,” they compete with each other and split authority. Consolidate them into one authoritative post and redirect the others. Then check that your blog content isn’t competing with your own collection pages for the same terms. Your blog should support your collections, not fight them.
| Situation | Recommended action |
|---|---|
| Post indexed, zero clicks | Refresh title and meta description to match search intent |
| Post indexed, high bounce rate | Improve structure, add visuals, strengthen internal links |
| Post not indexed, thin content | Expand content substantially or consolidate with another post |
| Multiple posts, same keyword | Consolidate into one post, redirect others |
| Post indexed, good traffic, no conversions | Add product links and stronger contextual CTAs |
For a deeper look at writing posts that rank and convert, BlockPress covers the full content framework specific to Shopify stores.
Fixing performance and Core Web Vitals
Your blog post can be perfectly indexed and genuinely useful, and still lose rankings because it loads too slowly or jumps around as it renders. Core Web Vitals are Google’s way of measuring real user experience, and they apply just as much to blog pages as they do to product pages.
The three metrics that matter most here are LCP (Largest Contentful Paint, how fast the main content loads), INP (Interaction to Next Paint, how responsive the page feels when users interact), and CLS (Cumulative Layout Shift, how stable the layout is as it loads).
On Shopify blogs, the most common causes of poor scores are:
-
Large hero images loaded without size optimization or proper format (WebP is significantly smaller than JPEG for most blog images)
-
Third-party scripts from review apps, chat widgets, or analytics tools that block the main thread
-
App bloat from installed Shopify apps that inject JavaScript into every page, including blog posts
-
Lazy-loaded hero images that delay LCP when the main image is above the fold
That fourth point surprises most store owners. Switching from lazy loading to eager loading for above-the-fold hero images and deferring non-critical scripts improves both LCP and INP scores measurably.
For INP specifically, the fix often lives inside your theme’s JavaScript. Refactoring theme event handlers and adding debouncing to input interactions reduced INP from 612ms to 178ms in one documented Shopify case study. That’s the difference between a page that feels sluggish and one that feels instant on mobile.
Pro Tip: Run your blog posts through PageSpeed Insights separately from your homepage. Blog pages often carry different app scripts and image loads than product pages, so the performance profile is different. Fix the pages that get the most organic traffic first.
Auditing with PageSpeed Insights combined with image compression and removing unused apps consistently improves load times and engagement. But validate your fixes with real user monitoring, not just lab scores. Synthetic lab tests don’t always reflect what actual users experience across different browsers and devices.
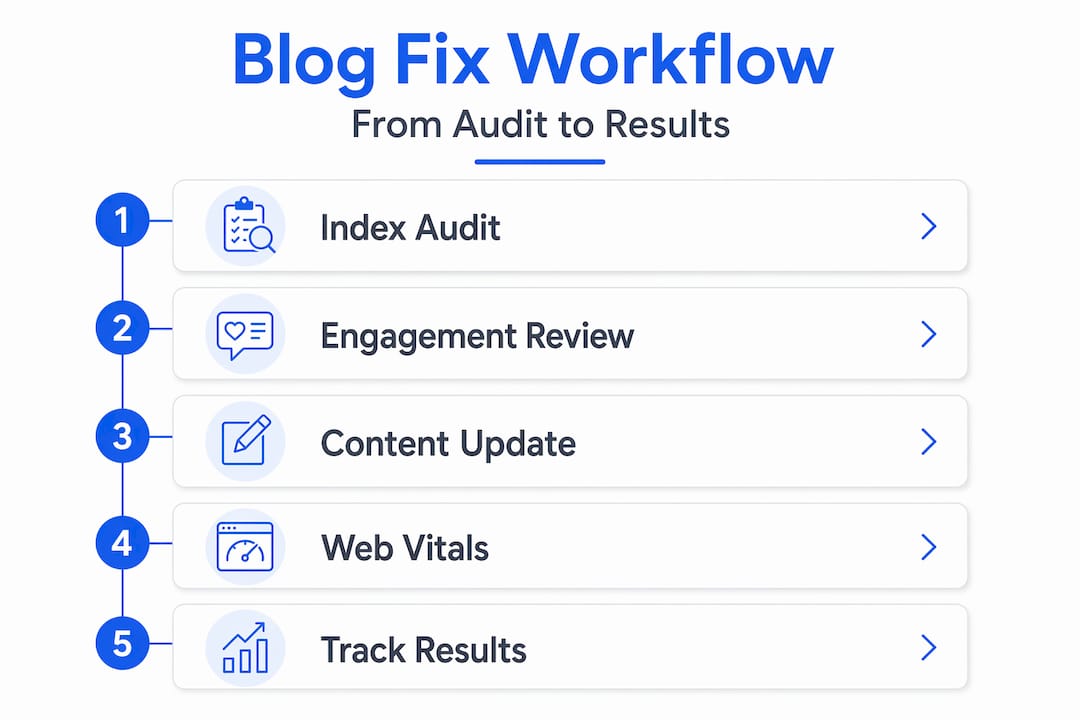
Executing fixes and maintaining blog health
Knowing what to fix is half the battle. Executing it in the right order prevents wasted effort and makes your results measurable. Here’s the prioritized workflow:
-
Fix indexing errors first. Resolve server errors, remove accidental noindex tags, and correct canonical conflicts before anything else. Use the URL Inspection tool to confirm each fix, then request indexing.
-
Audit and prune content. Export your blog post list, cross-reference with Search Console impressions data, and categorize each post as refresh, consolidate, or remove.
-
Refresh highest-potential posts. These are posts with existing impressions but low click-through rates. Update titles, meta descriptions, structure, and internal links. Don’t rewrite posts that are already ranking well.
-
Add internal links to collections. Go through your refreshed posts and add 2 to 5 contextual links to relevant product pages or collections. Measuring inbound links to money pages shows you whether your blog is actually contributing to conversions.
-
Fix performance issues. Compress images, switch hero images to eager loading, audit and remove unused app scripts, and test INP on your most-trafficked blog posts.
-
Set a monitoring cadence. Check Search Console weekly for new indexing errors. Review GA4 engagement metrics monthly. Run a full content audit every quarter.
Pro Tip: Set a 6-week checkpoint after refreshing content. Traffic lifts from content updates are rarely immediate. Google needs time to re-crawl, re-evaluate, and adjust rankings. Measuring too early leads to false conclusions about what’s working.
The timeline reality is this: technical fixes like indexing corrections can show results within days. Content refreshes typically take 4 to 8 weeks to reflect in organic traffic. Performance improvements show up in Core Web Vitals reports within a few weeks but may take longer to influence rankings.
Maintaining blog health over time means treating your blog like a product, not a publishing calendar. Regular audits, consistent pruning of posts that never gain traction, and ongoing performance monitoring are what separate blogs that compound in value from those that plateau.
My honest take on what actually moves the needle
I’ve reviewed a lot of Shopify blogs that went through the full technical checklist and still didn’t improve. Every indexing error fixed, every image compressed, every canonical tag corrected. And the blog still sat flat.
The pattern I keep seeing is this: store owners treat their blog as a separate entity from their store. They write about industry topics, publish on a schedule, and optimize for keywords without ever connecting the content to what they actually sell. The posts become orphan pages. They might rank for something eventually, but they don’t contribute to revenue, and Google eventually figures out that nobody converts from them.
The alignment between editorial content and buyer intent is what I consider the most underrated factor in Shopify blog performance. A post about “how to choose the right yoga mat” that links directly to your yoga mat collection, includes product comparisons, and answers the exact questions your customers ask before buying is worth ten times more than a generic post about yoga trends.
I also see store owners over-requesting indexing after every minor edit. That’s not how it works. The URL Inspection tool is a diagnostic instrument, not a publishing accelerator. Use it with intention.
The stores I’ve seen get the most out of their blogs are the ones that treat each post as a piece of the sales funnel, not just a traffic play. They measure inbound links to collection pages. They track whether blog readers convert. They connect the editorial calendar to what’s actually selling.
— Rodney
Take the guesswork out of your Shopify blog
If running through all of this manually sounds like a lot, that’s because it is. Most Shopify store owners are managing blog SEO, content audits, performance monitoring, and internal linking across three or four separate tools.
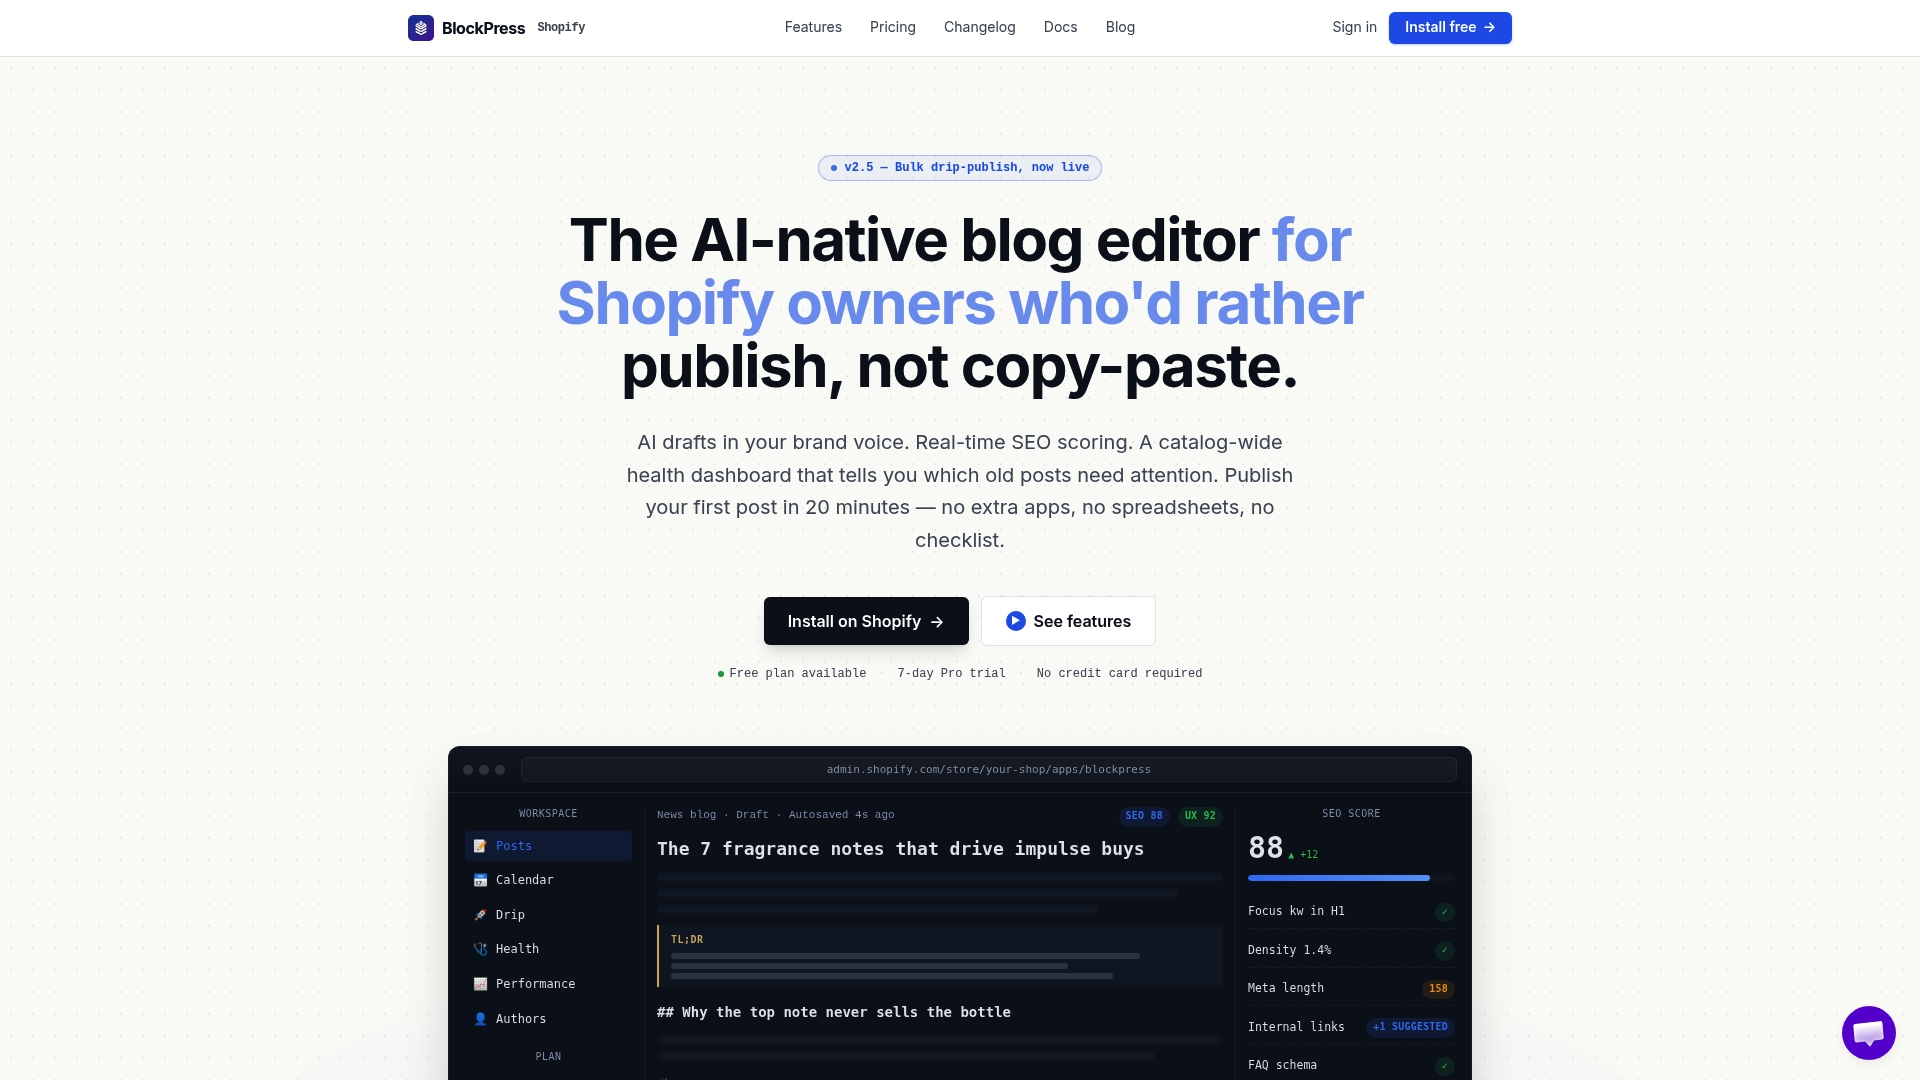
BlockPress is built to replace that stack. It lives directly inside Shopify and gives you real Google keyword data, live SEO and UX scoring, AI-generated article drafts, per-article performance analytics, and article health audits in one place. You can see which posts need refreshing, which are missing internal links, and which have indexing issues without leaving your store. For teams publishing at scale, bulk drip-publishing keeps your content calendar running without manual scheduling. Explore the full BlockPress feature set or check pricing plans built for stores at every stage. Start fixing your blog from inside your store at blockpress.app.
FAQ
How do I know if my Shopify blog has indexing problems?
Open Google Search Console and check the Indexing (Coverage) report for errors and excluded URLs. Use the URL Inspection tool on specific posts to see whether they’re indexed and what’s blocking them.
How long does it take to see results after refreshing blog content?
Content refreshes typically take 4 to 8 weeks to show measurable traffic improvements. Technical fixes like resolving indexing errors can show results faster, sometimes within days of Google re-crawling.
What causes poor Core Web Vitals on Shopify blog pages?
The most common causes are large unoptimized images, lazy-loaded hero images above the fold, third-party app scripts that block the main thread, and theme JavaScript that creates long tasks on mobile devices.
How many internal links should a Shopify blog post have?
Shopify recommends 2 to 5 internal links per 1,000 words, focused on relevance to product collections and related posts rather than quantity. Overlinking with generic anchor text can signal spam to search engines.
Should I delete blog posts that aren’t getting traffic?
Not always. Posts with existing impressions but low clicks are better candidates for a refresh than deletion. Only remove posts with zero impressions, thin content, and no realistic path to ranking. Redirect deleted URLs to relevant collection or blog pages.