
If you have fewer than 20 posts, copy and paste them by hand and move on with your day. Between 20 and a few hundred posts, export your content to CSV or XML and run it through a migration app like Matrixify. For very large blogs or those with complex formatting, hiring a developer or relying fully on a migration app is recommended. Whichever route you pick, the job isn't done until you've mapped every old URL to a new one, moved your images into Shopify Files, and run a dry-run before anything goes live.
TL;DR:
- Migration apps are essential for blogs with more than 20 posts or complex content, as manual transfer becomes too slow and error-prone.
- Automated image URL rewriting and redirect creation are critical features of migration tools to prevent broken media links and preserve SEO rankings.
- Preparing a permalink mapping and meta data before migrating minimizes traffic loss, which typically ranges from 10% to 30% if redirects are handled properly.
- Conducting a staged publish process and thorough testing in a staging environment reduces the risk of broken links, missing images, or incorrect metadata going live.
- Preserving or rebuilding author attribution and comments requires deliberate planning, as Shopify's platform has limited support for these elements than WordPress.
Table of Contents
- Choosing Your Blog Migration Method: Manual, CSV, or App
- What Migration Apps Actually Automate
- Why Your Images Break and How to Fix Them
- How Do You Keep Your SEO Rankings After Migrating?
- Testing Your Migration Before It Goes Live
- What Happens to Your Blog Comments During Migration
- Fixing Author Attribution After You Import Blog Posts to Shopify
- When Should You Publish Your Imported Posts?
- What Migration Mistakes Come Up Again and Again?
- Clean Up Your Migrated Blog Faster With BlockPress
- Where to Verify These Migration Steps
- Sources
- FAQ
Choosing Your Blog Migration Method: Manual, CSV, or App
The right way to import blog posts to Shopify depends almost entirely on volume and complexity, not personal preference. Here's how the three main paths actually break down.
Manual copy-and-paste works fine for small blogs, roughly 20 posts or fewer. It's slow per-post but requires no tools or budget. The workflow:
- Open the original post and copy the body text into Shopify's blog editor.
- Upload every image to Shopify Files rather than hotlinking the old URLs.
- Paste in the title, meta description, and publish date manually.
- Re-check formatting, since WordPress themes and Shopify's editor render headings, blockquotes, and spacing differently.
CSV or XML export suits medium-size blogs. WordPress's built-in export tool, or a plugin like All Export, generates an XML or CSV file containing your posts, tags, authors, and dates. Before importing, check field mappings closely. Author names, categories, and custom fields often don't map one-to-one between platforms, and a mismatched column can silently drop content during import.
Migration apps or a developer make sense once you're past roughly 20 posts, or if your blog relies on custom fields, embedded shortcodes, or plugin-generated content that doesn't translate cleanly to Shopify's blog engine. At that scale, manual work isn't just slow. It's a genuine wordpress blog to shopify migration project, with the same planning a product catalog migration would get, per Shopify's own migration guidance.
What Migration Apps Actually Automate
A decent migration app handles the tedious parts of a bulk publish shopify blog job: titles, body content, tags, author metadata, featured images, publish dates, and often basic SEO fields like meta descriptions. What separates a good app from a mediocre one comes down to a handful of specific features.
- Image URL replacement. The app rewrites broken WordPress image paths so posts don't render with missing media.
- 301 redirect creation. Some apps generate redirect rules automatically as part of the import, saving you a separate mapping step.
- Dry-run mode. You can preview exactly what will import before committing, catching mapping errors before they go live.
- Field mapping UI. Lets you match WordPress columns (author, category, custom field) to their Shopify equivalents instead of guessing.
Matrixify's documented process is a useful reference for what a clean app-driven migration looks like: export via All Export, rename the file, upload it to Matrixify, run the dry-run before importing, then upload generated images to Shopify Files. That order matters. Skipping the dry-run is the single most common way a shopify blog migration goes sideways.
Pro Tip: Run your dry-run on a handful of test posts first, not the full archive. It's faster to spot a mapping error in five posts than to untangle it across five hundred.
Why Your Images Break and How to Fix Them
WordPress stores images under paths like /wp-content/uploads/, and those paths simply don't exist on Shopify's servers. Every in-post image link built on that structure breaks the moment you import blog posts shopify style, unless you deal with it directly.
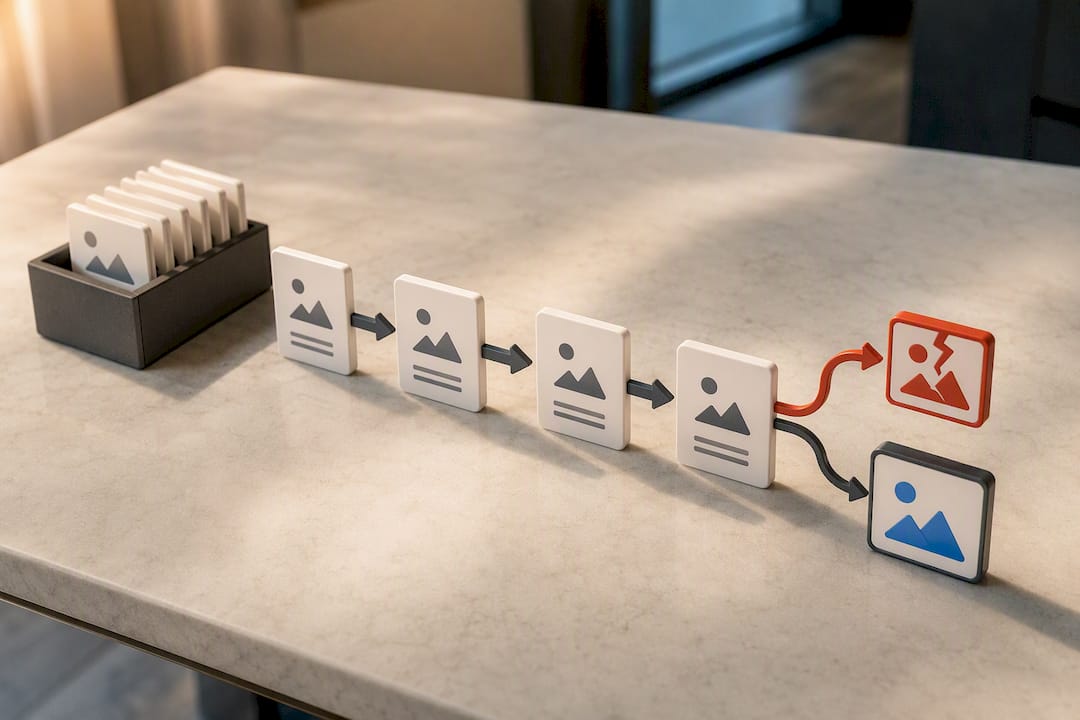
You have two practical options. Let your migration app replace image URLs automatically during import, which is the faster route for large blogs. Or bulk-upload images to Shopify Files yourself and run a find-and-replace on the old paths, which gives you more control over file naming and organization.
Either way, verify these before calling the migration done:
- Featured images display correctly on both the blog index and individual post pages.
- Every in-post image loads, not just the featured one.
- Alt text carried over where the original data included it.
Rehosting images properly also reduces crawl friction and avoids the kind of broken link chains that hurt post-migration recovery.
How Do You Keep Your SEO Rankings After Migrating?
Shopify forces every blog post under a /blogs/ prefix, the same way products live under /products/ and pages under /pages/. That means your old WordPress permalinks, whatever structure they used, will not survive the move without deliberate mapping.
Even well-executed migrations see 10% to 30% organic traffic volatility in the first two months, and poorly executed ones can lose 20% to 60% of organic traffic within three months. Broken redirects and mismatched URL patterns are the usual culprits.
Protect against that with this sequence:
- Build a two-column CSV mapping every old permalink to its new
/blogs/your-blog-name/article-titleequivalent, then upload it through Shopify's bulk redirect tool. For very large sites, the Admin API handles this faster than the manual CSV uploader. - Export your existing title tags and meta descriptions before migrating, and map them directly onto the new posts. Don't let Shopify auto-generate these. Auto-titles are functional, not optimized, and they throw away work you already did.
- Bring over structured data (JSON-LD) where your original CMS supported it, since Shopify doesn't recreate it automatically on import.
- Watch Search Console closely for the first two months and expect some ranking movement even if everything was done correctly.
Keep your redirects live indefinitely if you can manage it. At minimum, a full year. Removing them early is a common way merchants throw away the traffic they worked to preserve, and it undercuts everything covered in this guide to optimizing existing Shopify blog posts.
Testing Your Migration Before It Goes Live
Shopify recommends running migrations through a staging environment or your app's dry-run feature before anything touches your live store, and that advice holds regardless of blog size. A staging test catches the mistakes that are expensive to fix after launch.
Before you flip the switch, work through this checklist:
- Confirm images, author names, and publish dates transferred correctly on a sample of posts.
- Run a full site crawl and check that no post returns a 404.
- Verify every 301 redirect actually resolves to the correct new URL, not a generic homepage bounce.
- Check that internal links between posts still point to live pages, not dead permalinks.
- Confirm schema markup and JSON-LD rendered where expected.
- Run Search Console's URL inspection tool on a sample of migrated posts.
Pro Tip: Keep a spreadsheet of your top 20 traffic-driving posts before migration and check those specifically post-launch. If something breaks, it's usually one of those pages, and catching it fast limits the damage.
After launch, monitor daily for the first week. Fix 404s and missing assets immediately rather than batching them, since a redirect gap that sits for two weeks does more damage than one caught in two days.
What Happens to Your Blog Comments During Migration
Shopify's native blog engine doesn't support a built-in comment system the way WordPress does out of the box. If your old blog has years of reader comments, migrating them directly usually isn't possible through standard export or import tools.
Most merchants handle this one of two ways. The first is accepting the loss and moving forward without comments, which is the simpler and more common choice, especially for blogs where comment volume was already low or where comments skewed toward spam rather than genuine engagement. The second is embedding a third-party commenting widget, which lets you preserve future engagement even though historical comments from WordPress typically won't carry over cleanly.
If your comment threads contained real SEO value, meaning genuine long-tail keyword phrasing from readers or unique answers to common questions, it's worth archiving that content separately before migration rather than losing it outright. A simple export of the comment data, even just for your top-performing posts, gives you a reference to pull from later if you want to fold reader questions into the post body itself as an FAQ section.
Don't treat comments as an afterthought you'll deal with later. Decide your approach before you migrate, because once the old site is gone, so is easy access to that data.
Fixing Author Attribution After You Import Blog Posts to Shopify
Author names rarely map cleanly during migration. WordPress accounts, custom author bios, and multi-author setups don't translate one-to-one into Shopify's blog structure, and CSV imports frequently drop the author field entirely or assign every post to whoever ran the import.
Check every migrated post against its original byline. For a small blog, this is a quick manual pass. For a larger one, sort your export file by author before importing so you can spot mismatches in bulk rather than post by post.
Shopify does support assigning individual authors to blog posts, but bio information, headshots, and author-level pages need to be set up separately since they don't import automatically alongside post content. If your original site used author pages to build topical authority, particularly for expertise-driven content, rebuilding those bios is worth the time. It's also worth deciding early whether you'll keep the same author structure or consolidate under fewer bylines. Some merchants use migration as a natural point to simplify from ten guest contributors down to two or three consistent voices, which can actually help build recognizable authority over time.
When Should You Publish Your Imported Posts?
Dumping hundreds of imported posts live all at once isn't necessary, and it can create its own problems if your redirect map or metadata isn't fully verified yet.
A staggered rollout gives you room to catch issues on a smaller batch before they multiply across your entire archive. Publish your highest-traffic, highest-value posts first, once you've confirmed their redirects and images work correctly. Hold lower-priority posts back a few days while you finish verifying the rest of the batch.
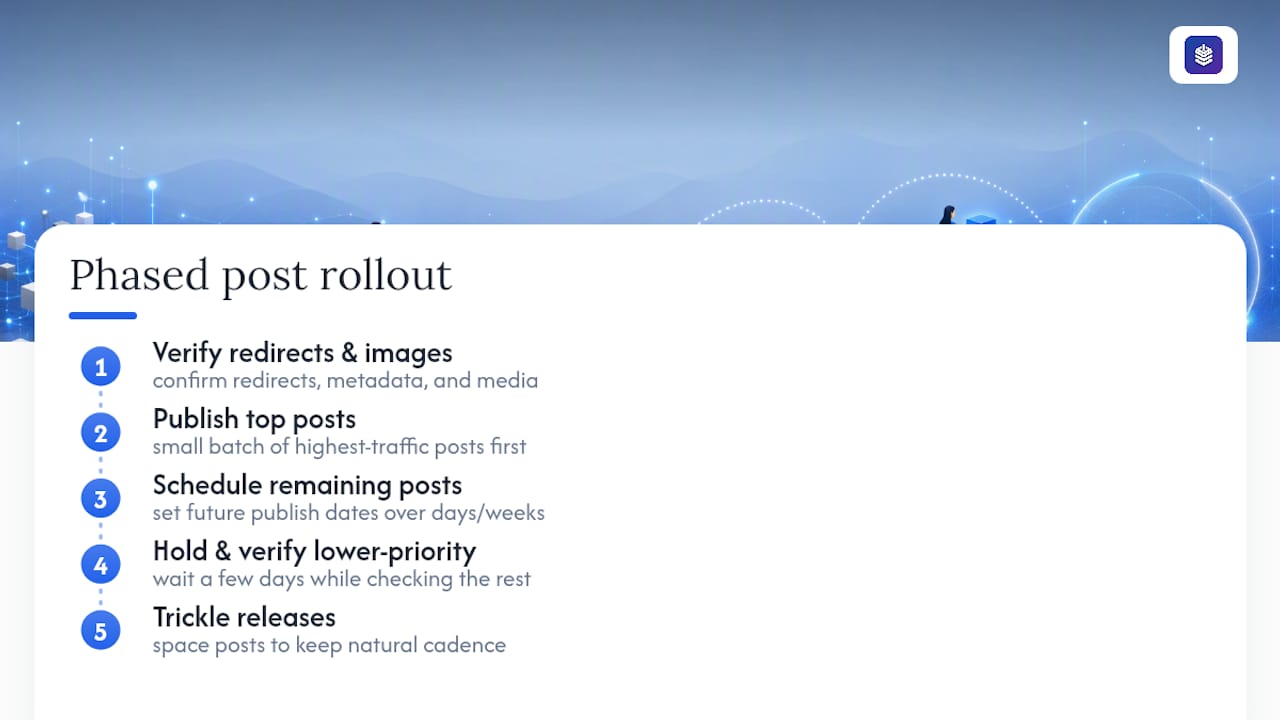
Shopify's scheduling feature lets you set future publish dates for individual posts, which works well if you want migrated content to trickle out over days or weeks instead of appearing all at once. This also matters if you're merging a migrated archive with new content you're actively producing. Spacing out publication keeps your blog's cadence looking natural rather than dumping a visible backlog in a single afternoon, which can look strange to both readers and search crawlers indexing the change.
What Migration Mistakes Come Up Again and Again?
Treat your blog migration as its own project, separate from moving products or customer data. The most common failures I see are entirely avoidable: skipping the dry-run, migrating post bodies while forgetting metadata, and never checking whether internal links between posts still resolve. Once the migration is technically done, the real work becomes fixing what broke at scale, which is exactly where dedicated content tooling like BlockPress earns its place.
— Rodney
Clean Up Your Migrated Blog Faster With BlockPress
BlockPress is the fastest way to fix what a migration leaves behind, without opening a separate app or hiring someone to comb through a hundred posts one at a time.
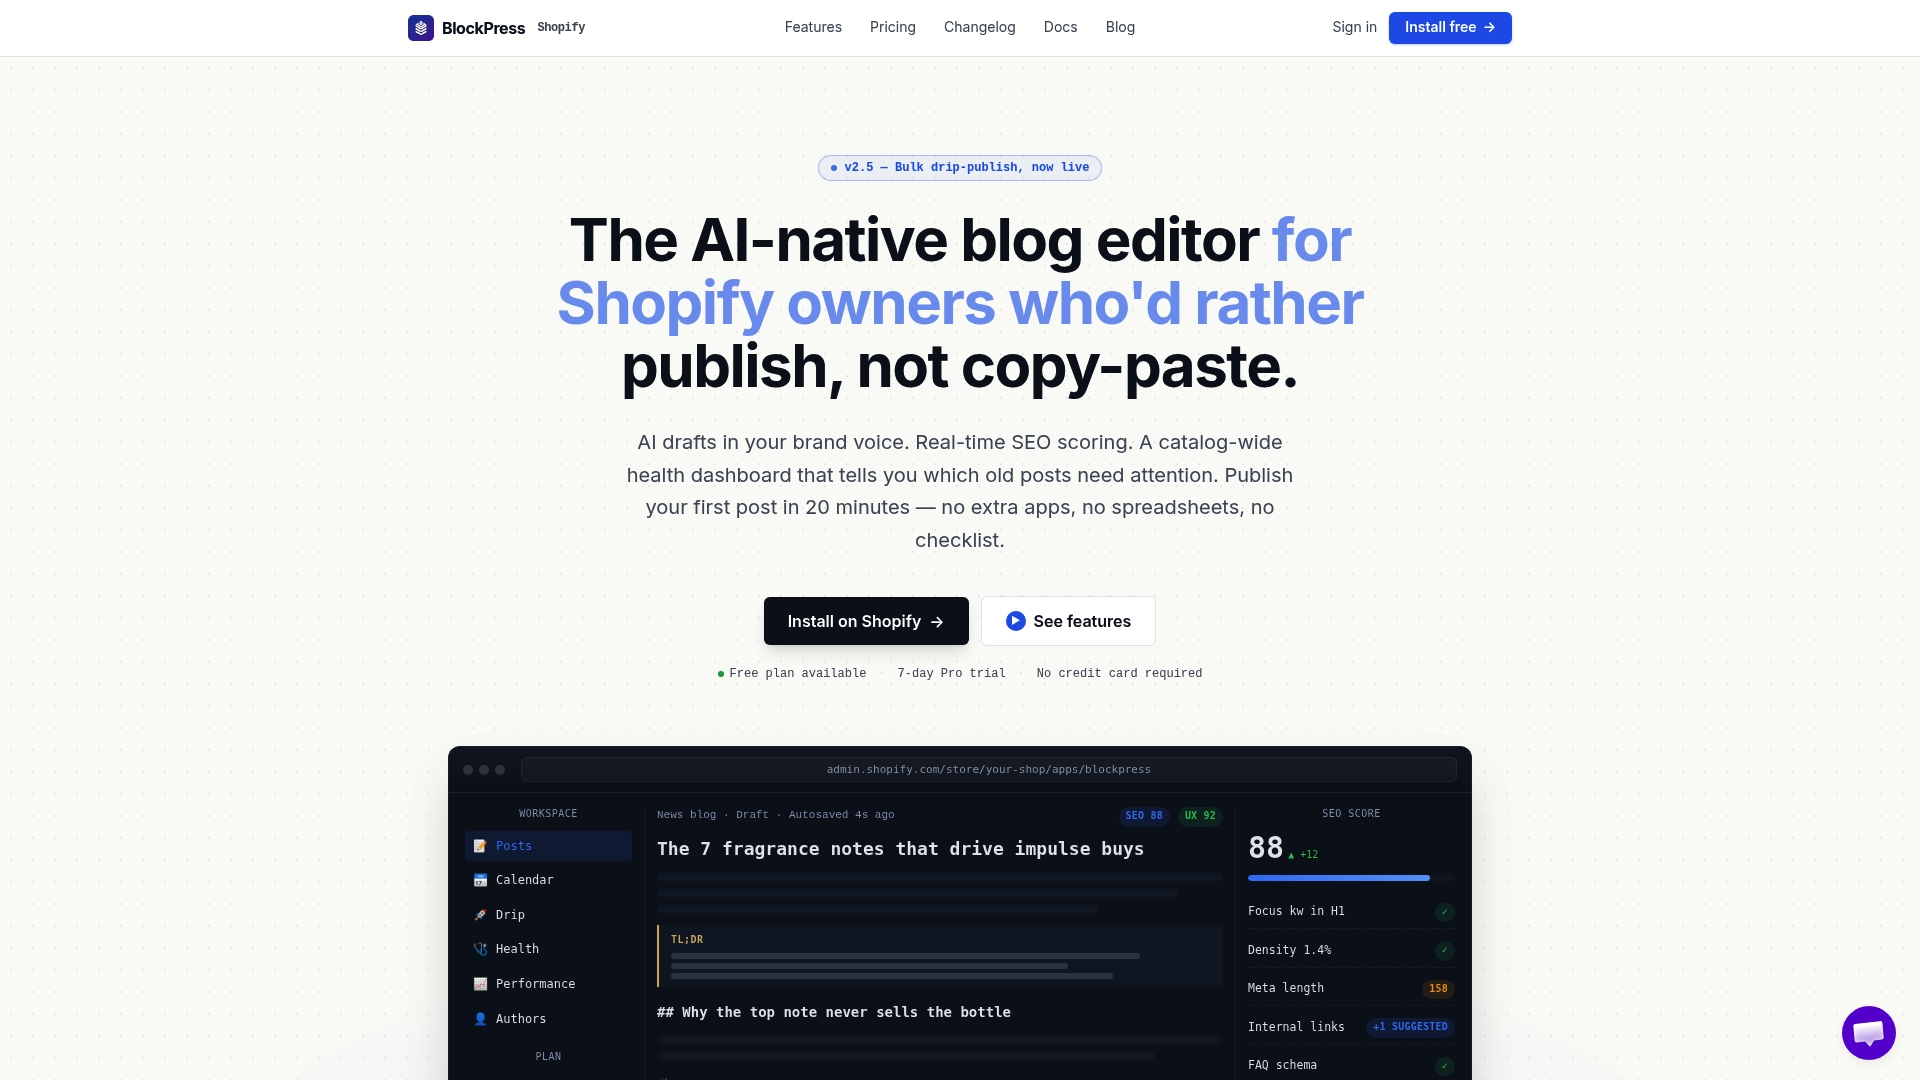
Once your posts land in Shopify, tools can provide live SEO and UX scoring on every article, so you can see which migrated posts lost their metadata, which ones need a stronger meta description, and which internal links point nowhere. Article health audits can flag broken links and thin content across your archive at once, and bulk editing can help fix recurring formatting issues, missing tags, or metadata gaps across many posts instead of opening each one individually. If you stagger your rollout, scheduled drip publishing features can maintain that cadence without manual date entry, and performance analytics can show which migrated posts are recovering traffic and which may need another look. It's also worth pairing with a look at internal linking strategies built for Shopify once your archive is stable.
Start restoring your blog's SEO health with BlockPress today.
Where to Verify These Migration Steps
- Shopify's own migration documentation for staging and Admin API guidance.
- Matrixify's WordPress-to-Shopify tutorial for practical app-based steps.
- Search Engine Journal's migration traffic guidance and a 4 to 8 week migration SEO playbook for redirect planning.
Sources
- What Is a Migration Hangover? Traffic Drop: How Do You Avoid It? — Search Engine Journal
- Migrating to Shopify — Shopify Help Center
- Migrate Blog Posts and Pages from WordPress AllExport to Shopify — Matrixify
FAQ
How Do I Add a Blog Post to Shopify?
Go to Online Store, then Blog Posts in your Shopify admin, and click "Add blog post" to write or paste content directly into the editor, including title, body, image, and metadata fields.
Does Shopify Support Blog Posts?
Yes. Shopify includes a native blog engine where posts publish under a forced /blogs/ URL prefix, and you can organize multiple blogs within a single store.
How Do I Export Blog Posts From Shopify?
Shopify doesn't offer a native one-click blog export, so most merchants use a bulk export app like Matrixify or the Excel Export Import app to pull posts into CSV or XML format.
Can WordPress Integrate With Shopify?
WordPress content doesn't sync live with Shopify, but you can export WordPress posts via XML or a plugin like All Export and import that file into Shopify using a migration app, or keep WordPress as your publishing layer and surface posts on your store through a feed.
What's the Fastest Way to Import Blog Posts to Shopify in Bulk?
For any blog beyond about 20 posts, a migration app like Matrixify is faster and more reliable than manual copying, since it handles field mapping, image rehosting, and redirect creation in one workflow.