
Add a domain or URL-prefix property for your store in Google Search Console, verify ownership, and submit your sitemap.xml under Indexing → Sitemaps. Expect the first data within 48 hours. While you wait, run URL Inspection on your five best-selling product pages to confirm Google can actually see them. That single sequence catches most of the indexing problems that quietly cap Shopify store traffic.
TL;DR:
- Colourful URLs and internal links generated by Shopify themes often lead to duplicate content issues, which can prevent correct indexing of product pages.
- The Pages and URL Inspection reports should be checked weekly on high-value product pages to ensure proper indexing and canonical tagging.
- Submitting the sitemap.xml file from your store speeds up Google’s discovery process, especially after new product launches or domain changes, with status updates usually within 48 hours.
- Common indexing issues involve duplicate URLs, accidental noindex tags, storefront passwords blocking crawlers, and URL parameters from filtering, all solvable with targeted fixes.
- Using Google Analytics or Tag Manager for verification allows for a smoother Search Console setup, while routine monitoring helps maintain optimal search visibility.
Table of Contents
- What Is Google Search Console and Which Reports Matter for Shopify?
- How Do You Read the Performance, Indexing, and Sitemaps Reports?
- How Do You Add and Verify Your Shopify Store in Search Console?
- How Do You Find and Submit Your Shopify Sitemap?
- Why Are Your Shopify Product Pages Not Getting Indexed?
- Who Needs Access, and How Do Analytics and Tag Manager Fit In?
- How Should You Prioritize Fixes Using Search Console Data?
- How BlockPress Speeds Up Acting on Search Console Insights
- The First 30 Days After Connecting Search Console
- Get More Out of Your Search Console Data With BlockPress
- Sources
- FAQ
What Is Google Search Console and Which Reports Matter for Shopify?
Search Console is Google's free diagnostics tool for anything related to how your store shows up in search. It reports impressions, clicks, indexing status, and crawl errors, all pulled directly from Google's own systems rather than estimated by a third party.
For Shopify merchants, five reports do almost all the work:
- Performance shows what people search, click, and skip.
- Pages (Indexing) tells you which URLs Google has indexed and why others got rejected.
- URL Inspection checks one page at a time against what Googlebot actually rendered.
- Sitemaps confirms Google received and read your sitemap.xml.
- Core Web Vitals flags site speed and stability issues by page group.
Check Pages and URL Inspection weekly, right after you publish or edit product pages. Performance and Core Web Vitals only need a monthly look. Shopify's own setup guide walks through adding the property and pulling these reports together.
How Do You Read the Performance, Indexing, and Sitemaps Reports?
Each report answers a different question, and treating them as one dashboard wastes their value.
Performance surfaces pages with high impressions but low clicks, which is the clearest signal your title tag or meta description needs work. A collection page pulling 4,000 impressions and a 1% click-through rate has a search-result problem, not a traffic problem.
Pages/Indexing sorts every URL into a status. Filter to /products/ first, since collection and blog URLs create noise. You'll see labels like "Crawled, currently not indexed" and "Duplicate, Google chose different canonical." The Indexing report groups statuses by cause, and a handful of "duplicate" flags are usually normal for stores with overlapping collection URLs. Only chase the ones on pages that should be ranking.
URL Inspection is your single source of truth. Run Live Test on a page and compare the rendered HTML against what you expect, especially the canonical tag and any noindex meta.
Sitemaps shows submission date, last read date, and status. A "couldn't fetch" result almost always traces back to one thing:
- A storefront password blocking crawlers
- An incorrect sitemap URL entered manually
- A sitemap that hasn't been resubmitted after a domain change
How Do You Add and Verify Your Shopify Store in Search Console?
Setting up the property correctly the first time saves you from re-verifying later. Here's the sequence:
- Choose your property type. A Domain property covers all subdomains and both HTTP and HTTPS automatically, but it requires DNS verification. A URL-prefix property is faster to verify but only covers the exact URL you enter, so
https://yourstore.comandhttps://www.yourstore.comneed separate properties. - Verify ownership. For Shopify stores, the two most reliable methods are adding a DNS TXT record through your domain registrar (best for Domain properties), or verifying through an existing Google Analytics or Google Tag Manager connection if you already have one installed. Both avoid touching theme code. An HTML tag pasted into your theme's
<head>works too, but it's more fragile if you ever switch themes. Search Console's own verification documentation covers all the accepted methods and their tradeoffs. - Submit your sitemap immediately. Go to Indexing → Sitemaps and enter
sitemap.xml. - Run URL Inspection on your top pages. Pick your five or ten highest-revenue product pages and inspect each one to confirm they're indexed and the canonical points where you expect.
- Check back in 48 hours. That's the typical window before Performance and Indexing data starts populating. Sitemap read status usually updates faster, sometimes within hours.
Skipping the sitemap submission step is the most common mistake. Google can eventually crawl a site without one, but submission speeds discovery, especially for new product pages.
How Do You Find and Submit Your Shopify Sitemap?
Every Shopify store generates a sitemap automatically at the root domain, no app or setup required. You'll find it at yourstore.com/sitemap.xml. Large catalogs get split automatically into an index file that links out to smaller sitemap chunks by content type.
Submitting it takes one step: open Indexing → Sitemaps in Search Console and type sitemap.xml into the field, then click Submit. Shopify's help documentation on sitemap submission confirms this is the only file you need to submit, since the index automatically references your product, collection, and blog sitemaps underneath it.
A few things to watch once it's submitted:
- The status column should read "Success" within a day or two. "Couldn't fetch" almost always means the storefront password is still on.
- If you run multiple domains (a .com and a country-specific ccTLD, for example), each domain needs its own Search Console property and its own sitemap submission. They don't share data.
- Resubmitting isn't necessary after routine product edits. Google recrawls the sitemap on its own schedule once it's read successfully the first time.
Why Are Your Shopify Product Pages Not Getting Indexed?
Most indexing gaps on Shopify trace back to four repeat offenders, and each has a specific fix.
- Duplicate collection-scoped URLs. Shopify themes often generate internal links using
within: current_collection, which points to a URL like/collections/hoodies/products/red-hoodieinstead of the clean/products/red-hoodie. The canonical tag is usually correct, but Google sometimes indexes the collection-scoped version anyway because that's the URL most internally linked. Fix the theme's link generation, not the canonical tag. - Accidental noindex. A theme setting or SEO app can quietly add a noindex directive to an entire template. Run URL Inspection on an affected page and check the "Indexing allowed?" field to confirm.
- Storefront password left on. If your store shows a password gate, Google can't crawl anything behind it, sitemap included. Check Online Store → Preferences before troubleshooting anything more complex.
- Faceted and sort parameter URLs. Filter and sort options generate URLs like
?sort_by=price-ascendingthat waste crawl budget on near-duplicate content. Identify them in the Pages report, then block the parameters inrobots.txtor set self-referencing canonicals.
For a catalog with hundreds of SKUs, don't fix pages one at a time. Export the Pages report, filter to /products/, and run URL Inspection across the surviving list before making theme changes.
Pro Tip: Fix the internal link source before you touch canonical tags. If the canonical is already correct but Google keeps choosing a different URL, the problem is almost always which link gets clicked most, not which tag says what.
Who Needs Access, and How Do Analytics and Tag Manager Fit In?
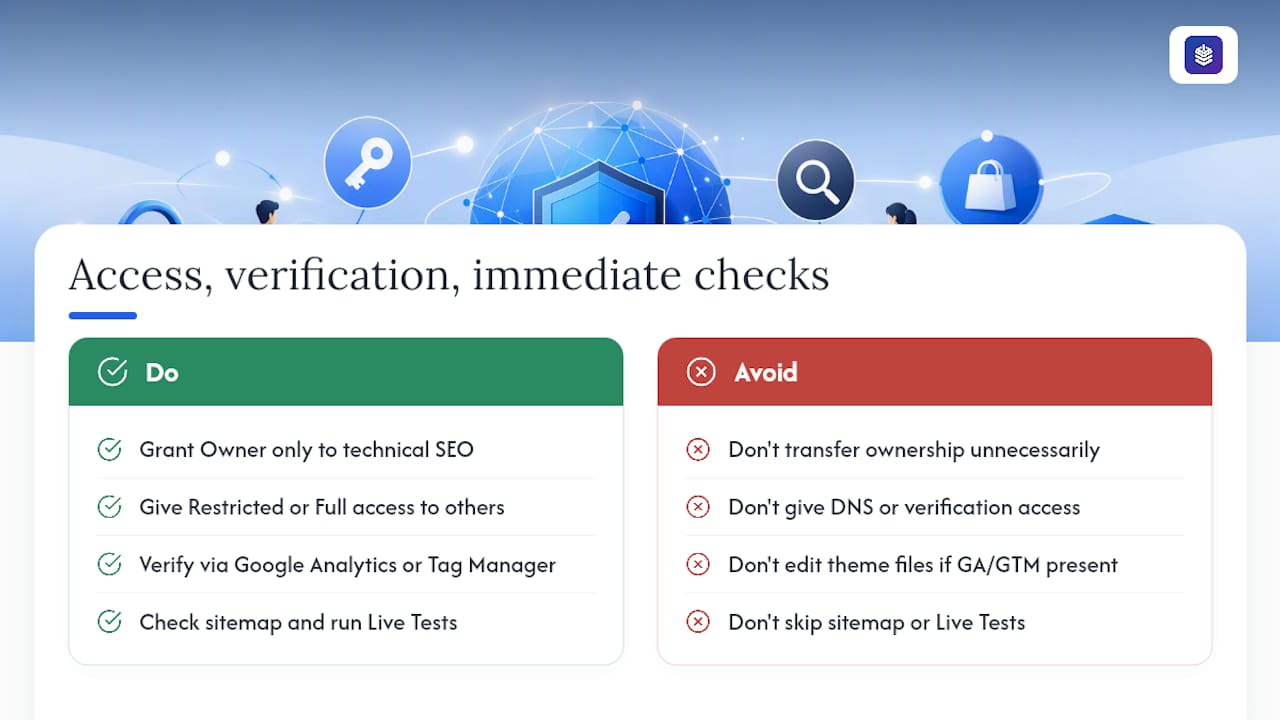
Give full Owner access only to whoever manages technical SEO. Everyone else, including copywriters and marketing contractors, should get Restricted or Full user access without ownership transfer rights. That keeps DNS and verification settings out of reach of people who don't need them.
If your store already runs Google Analytics or Google Tag Manager, you can verify your Search Console property through that existing connection instead of touching theme files at all. Google's platform-specific verification notes confirm this works as a standalone verification method.
Once connected, check two things immediately: the sitemap's read status under Sitemaps, and a Live Test on two or three priority pages to confirm indexing is allowed.
How Should You Prioritize Fixes Using Search Console Data?
Treat Search Console like a maintenance dashboard, not a one-time setup task. A simple cadence keeps small problems from becoming ranking losses:
- Weekly: Open Indexing → Pages and check for anything newly flagged as "Crawled, currently not indexed," especially on pages that were indexed last week. Run URL Inspection on any high-value page that dropped.
- Monthly: Review Performance for pages with high impressions and low click-through rate. These are your best candidates for a title or meta description rewrite, covered in more detail in this on-page SEO checklist.
- Immediately, whenever found: Fix accidental noindex tags, remove a leftover storefront password, and correct any canonical or internal link mismatch flagged during a Pages audit.
| Signal | Where to check | Action |
|---|---|---|
| High impressions, low clicks | Performance | Rewrite title/meta description |
| "Crawled, currently not indexed" | Pages/Indexing | Inspect page, check internal links |
| Sitemap "couldn't fetch" | Sitemaps | Check storefront password |
| Mobile usability errors | Core Web Vitals / Experience | Fix template or image sizing issue |
Persistent ranking drops usually have a technical root cause worth chasing down, and common causes of Shopify ranking losses often line up directly with what shows up in these four rows.
How BlockPress Speeds Up Acting on Search Console Insights
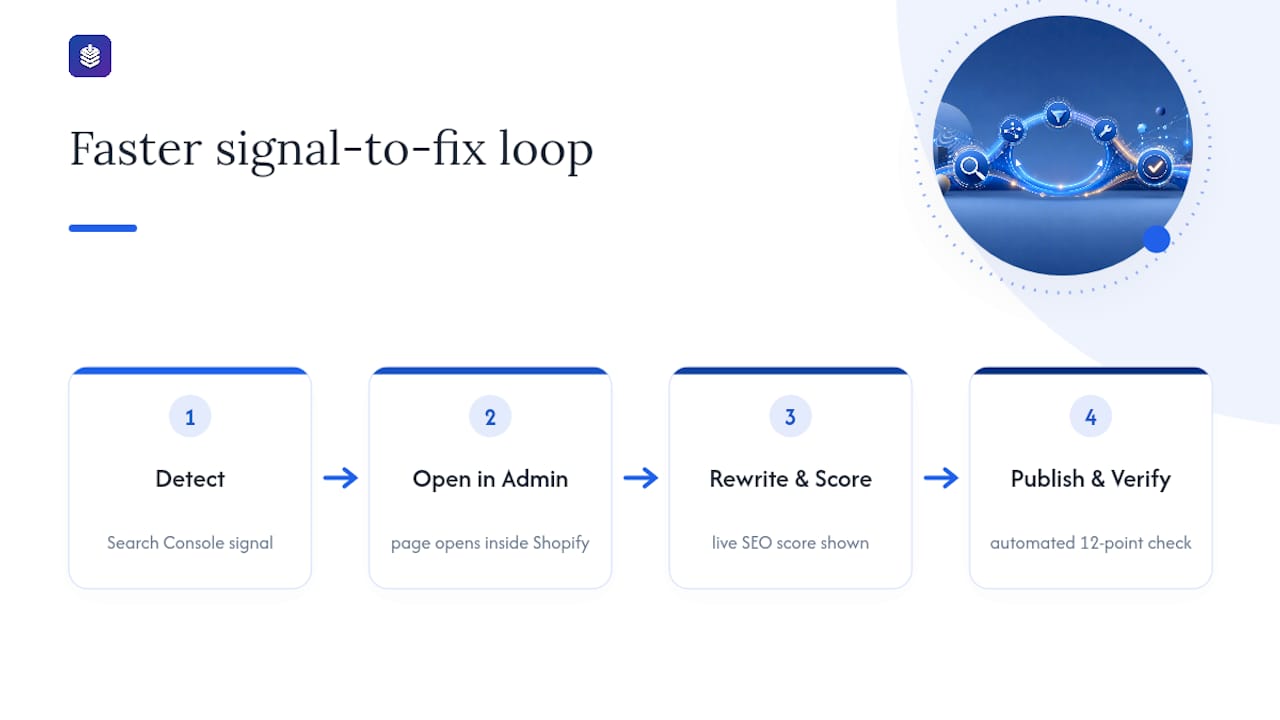
Spotting a problem in Search Console is only half the job. Fixing the copy, republishing, and confirming the fix worked is the part that eats time. BlockPress adds live SEO scoring and per-article performance analytics directly inside Shopify, so once you know which page needs a new title or expanded content, you can rewrite and check it without leaving your admin, leveraging Shopify SEO Automation tools to streamline the process. Pair that with the 12-point SEO checklist BlockPress automates for a faster loop from signal to fix.
The First 30 Days After Connecting Search Console
Check Sitemaps daily for the first week to confirm a successful read, then shift to weekly checks on Indexing and Performance. Rising indexed-page counts and a stable "Success" sitemap status are your earliest signs things are working. Catching a stray noindex tag in week one beats finding it in month three.
— Rodney
Get More Out of Your Search Console Data With BlockPress
BlockPress turns Search Console findings into finished fixes faster, because you're not jumping between five different apps to rewrite a title tag, check keyword data, and confirm a page's performance improved. Once you spot a high-impression, low-click product page in Performance, BlockPress shows you real keyword data and scores your rewrite for SEO and readability before you publish, right inside your Shopify admin.
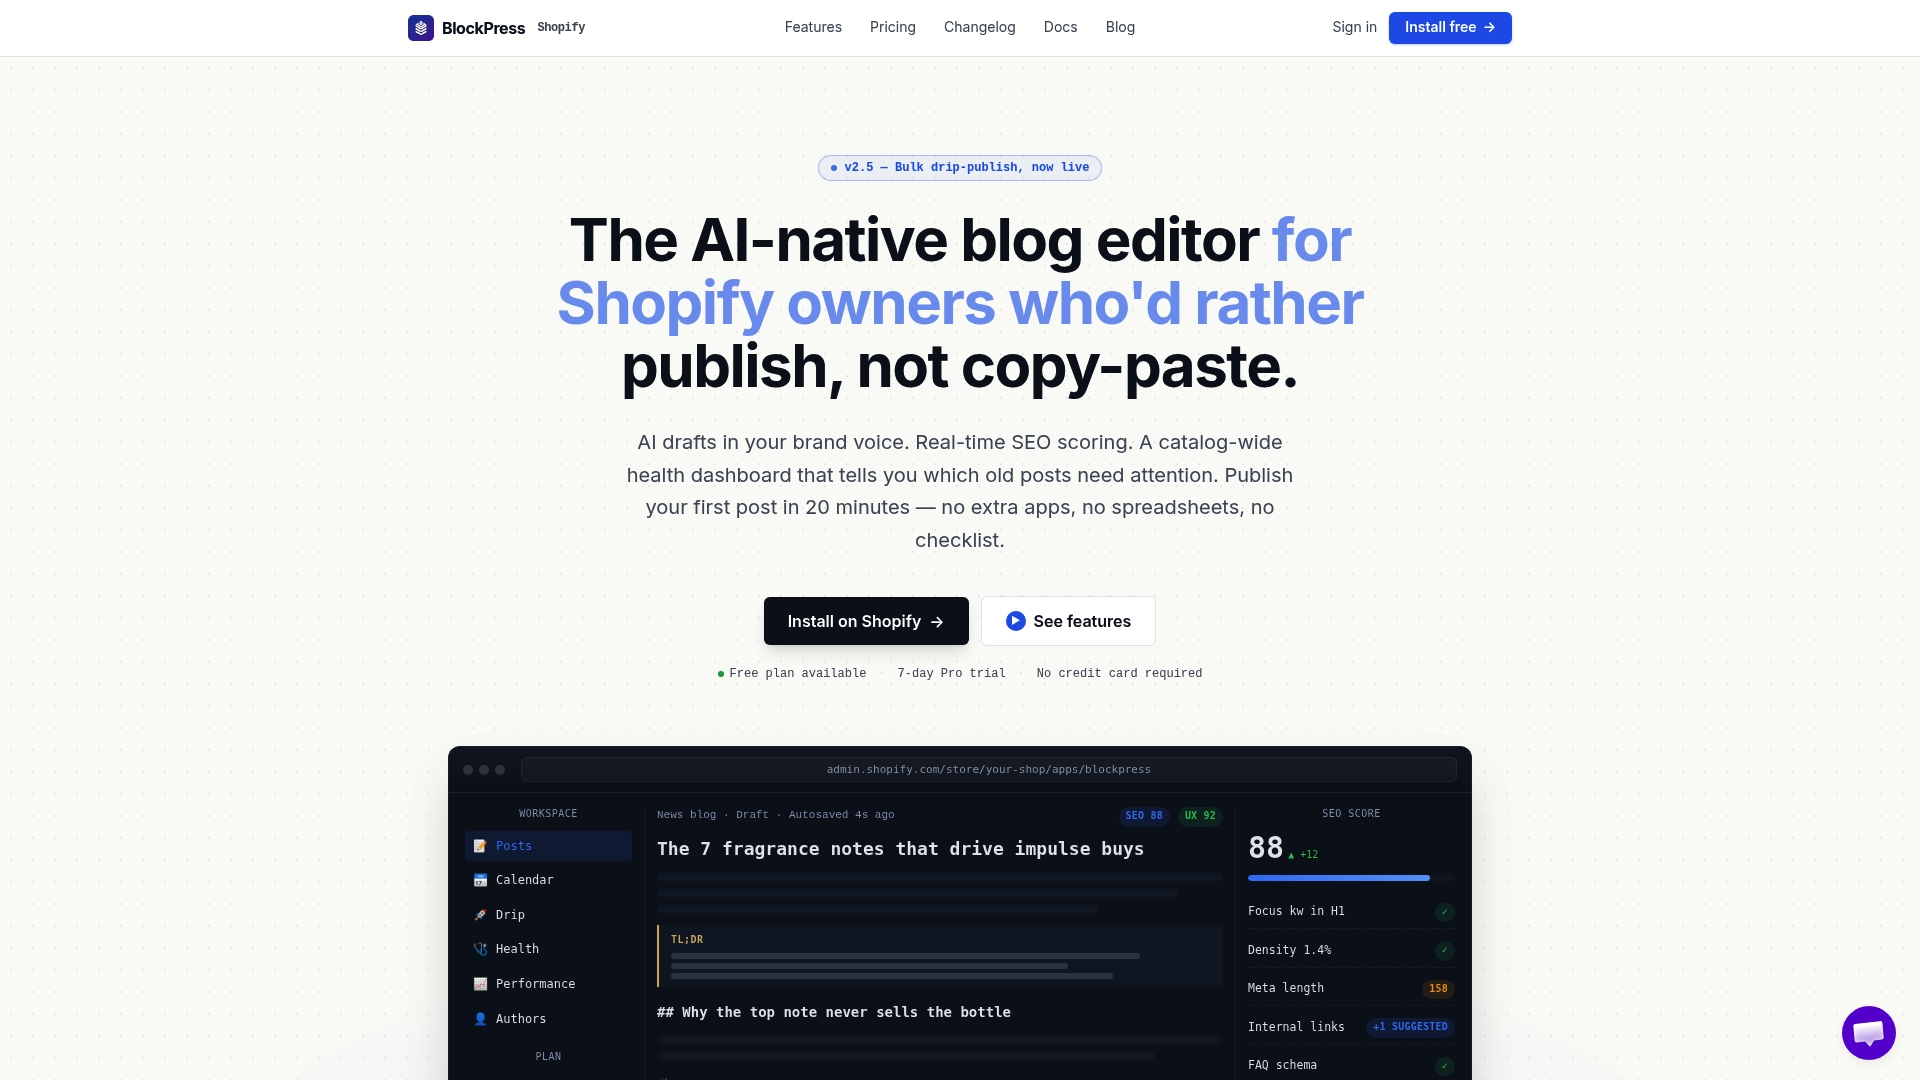
That matters most for stores running health audits across dozens of product and blog pages, where manually tracking which pages got fixed and which are still pending becomes its own job. BlockPress's per-article analytics let you confirm a metadata change actually moved the needle instead of guessing. If your Indexing report just flagged a batch of pages that need attention, start with BlockPress and work through the fixes without switching tools mid-task.
Sources
- How To Use Google Search Console for Your Website
- Finding and submitting your sitemap
- Add a website or platform property to Search Console - Search Console Help
- Shopify Product Pages Not Indexed: Diagnose in 7 Steps | SearchOptimo
FAQ
How Do I Set Up Google Search Console on Shopify?
Add a a Domain or URL-prefix property for your store, verify ownership through DNS, an HTML tag, or an existing Google Analytics connection, then submit your sitemap.xml under Indexing → Sitemaps.
How Do I Check Search Console for Indexing Issues?
Open the Pages report under Indexing, filter to /products/, and look for statuses like "Crawled, currently not indexed" or "Duplicate, Google chose different canonical," then run URL Inspection on the flagged pages to confirm the cause.
Is Shopify Still Worth It for SEO?
Shopify remains a solid foundation for SEO because it auto-generates a clean sitemap.xml and standard URL structure, but indexing quality still depends on fixing store-specific issues like collection-scoped links and accidental noindex tags that Search Console will surface.
How Long Does It Take for Search Console Data to Appear?
New Search Console properties typically show initial Performance and Indexing data within 48 hours of verification, though full historical trends take longer to build up.
Can BlockPress Help Me Act on Search Console Findings?
Yes. Once Search Console flags a page for low click-through rate or a metadata problem, BlockPress lets you rewrite and score that content for SEO directly inside Shopify, then track whether the change improved performance.