
Shopify has no native blog "category" field. Every store gets a workaround built from two tools: blog containers (separate blogs, each with its own URL) act as top-level categories, and tags act as secondary filters inside each one.
- Blog containers generate URLs like
/blogs/[handle]/ - Tags generate archive pages at
/blogs/[handle]/tagged/[tag-name]/ - Renaming a blog handle after you've published posts breaks existing URLs and demands redirects, so lock in your handles before you publish
Key Takeaways
Shopify categorizes blog content through separate blog containers for top-level topics and a disciplined tag taxonomy for secondary filtering, not a native category field.
| Point | Details |
|---|---|
| No native categories | Shopify uses blog containers (/blogs/[handle]/) as top-level categories instead of a category field. |
| Tags are secondary filters | Keep 12–25 tags per blog, with two or three tags per post, to avoid thin archive pages. |
| Never rename handles casually | Renaming a blog handle changes every post URL underneath it and requires redirects. |
| Internal linking drives authority | Pillar posts linking to cluster posts matter more for SEO than URL depth. |
| Blockpress simplifies governance | Blockpress runs SEO scoring, tag audits, and internal-link suggestions inside the Shopify admin. |
Table of Contents
- What Shopify Blog Categories Actually Mean
- Blog Containers vs. Tags: When to Use Each
- Setting Up Blog Containers and Tags in Shopify Admin
- Building a Tag Taxonomy That Works Like Categories
- Naming Rules and the Renaming Trap
- Getting Category Pages Into Navigation and Search
- Fixing Tag and Archive Problems
- Where an Editor Built for Shopify Blogging Helps
- Manage Categories and Tags Without Leaving Shopify
- Sources
- FAQ
What Shopify Blog Categories Actually Mean
Shopify's blog structure works nothing like WordPress. There's no dropdown for "assign category" when you write a post. Instead, Shopify gives you multiple blogs per store, each functioning as a self-contained container with its own archive page, its own RSS feed, and its own URL segment. A store might run separate blogs for "Buying Guides," "Style Tips," and "Company News," and each behaves like its own mini publication.
Tags sit one level below that. They're post-level metadata, and Shopify auto-generates an archive page for every tag you use, scoped to whichever blog container the post lives in.
Think of blog containers as the floors of a building and tags as the labels on individual boxes stored on those floors. You can't move a box to a different floor without a forwarding address, but relabeling a box is easy.
The URL pattern itself is fixed: /blogs/ never disappears, but the handle after it (and the post handle after that) is yours to name.
Blog Containers vs. Tags: When to Use Each
Use a new blog container when you're launching a genuinely separate content pillar, something with enough post volume to justify its own archive and its own feed. Use tags when you're labeling a topic that cuts across posts inside one container.
- Create a new blog for a distinct pillar: "Gear Reviews," "Recipes," "Founder Stories." Each gets its own
/blogs/gear-reviews/URL. - Use a tag for filters within a pillar: a post in
/blogs/gear-reviews/might carry the tag "winter," producing/blogs/gear-reviews/tagged/winter/. - Combine both for granularity: a "Buying Guides" blog with tags like "budget" or "beginner" lets shoppers filter without you spinning up five separate blogs.
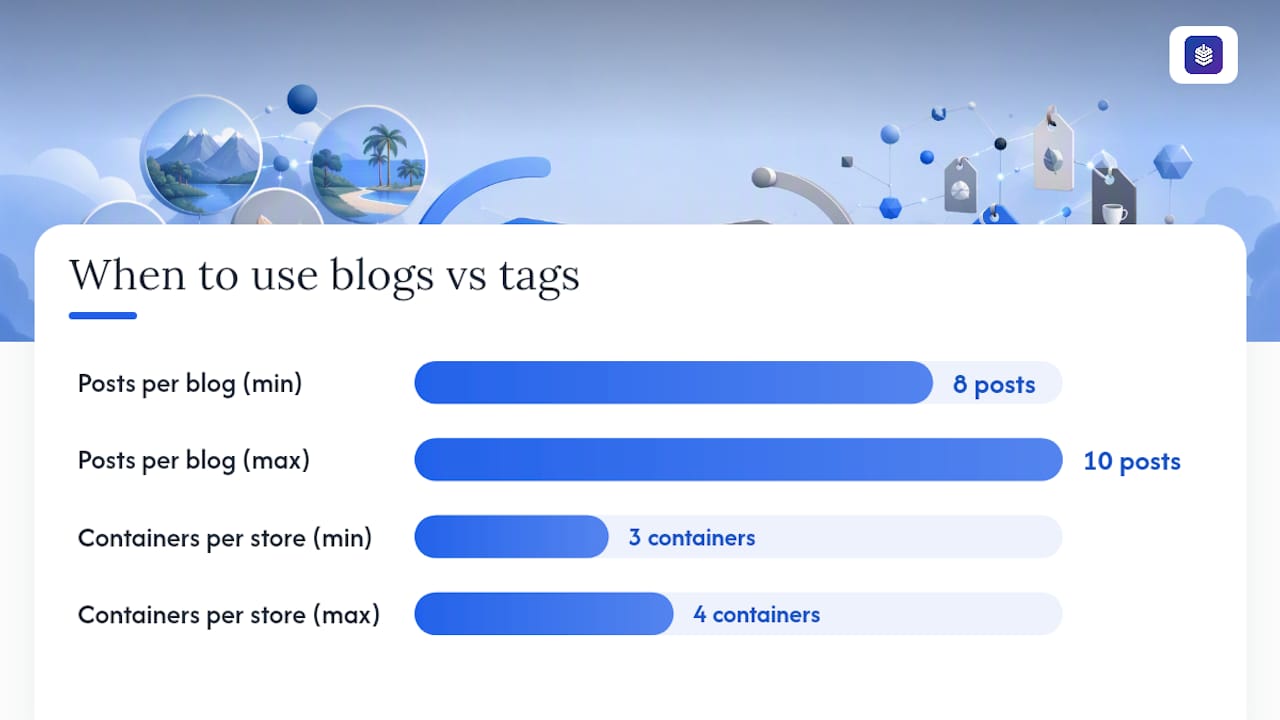
Pro Tip: Before creating a new blog container, ask if you'll realistically publish at least 8 to 10 posts in it. If not, it's a tag, not a blog.
Most stores never need more than three or four blog containers. ShopifyRanked's analysis of the container-versus-tag model backs this up: fewer containers, disciplined tags.
Setting Up Blog Containers and Tags in Shopify Admin
Here's the exact path, step by step:
- Go to Online Store > Blog posts > Manage blogs > Add blog. Name it, set the handle (this becomes your URL segment), and add a short description.
- Click Add blog post to create content inside that container. In the post editor, scroll to the Tags field and type your tag names, separated by commas.
- Check the URL and handle field before publishing. Shopify auto-generates it from your title, but you can edit it manually.
- If you must rename a blog later, go back into Manage blogs, edit the handle, and immediately set up 301 redirects for every post URL that changes, or you'll bleed traffic to 404 pages.
Tags support up to 255 characters each, though anything past two or three words defeats the purpose of a clean filter.
Building a Tag Taxonomy That Works Like Categories
A tag list only functions like a category system if you treat it as a closed taxonomy, meaning a fixed, deliberate list you maintain, not something that grows randomly with every post.
Aim for 12 to 25 tags total per blog container, with each post carrying two or three. That's enough range to organize content without fragmenting it into dozens of near-empty archive pages.
- Topic tags: "skincare-routine," "ingredient-guide," "product-comparison"
- Product tags: "vitamin-c," "retinol," "spf"
- Seasonal tags: "summer-2026," "holiday-gifting"
Keep every tag lowercase, hyphenated, and short. "Winter Skincare Tips" as a tag creates a messy URL; "winter-skincare" doesn't.
The real risk with tags is thin content. If you tag one post with something unique and never use that tag again, you've created an archive page with a single item on it, which search engines read as low-value. ShopifyRanked's guide lays out two fixes: maintain a closed taxonomy and retire tags that never hit a minimum post count, or noindex thin tag archives through your theme. The first option is almost always better, because customers actually browse by tag when it's useful.

Naming Rules and the Renaming Trap
Get your naming conventions right before you publish, because fixing them later means redirects, and redirects mean risk.

For blog handles: lead with the keyword, keep it short, use hyphens, stay lowercase. /blogs/skincare-guides/ beats /blogs/Skincare_Guides_And_Tips/ every time.
For tags: same rules apply. Keep a master list in a spreadsheet or Notion doc so you're not guessing whether "gift-guide" or "gift-ideas" is the tag you already use.
The single most expensive mistake in Shopify blog organization is renaming a blog handle after it's live. Every post under that blog inherits the new URL, and every inbound link, bookmark, and search result pointing to the old one now 404s unless you build redirects for each one.
- Plan your containers before your first post goes live, not after
- Retire tags that never accumulate enough posts to justify their own archive
- Document every handle and tag in one shared file your whole team can reference
Getting Category Pages Into Navigation and Search
A blog container or tag archive does you no good if nobody can find it. Add your primary blog containers directly to your main navigation menu, and consider linking popular tag archives from relevant collection or landing pages.
- Add
/blogs/[handle]/links to your header or footer menu for each major content pillar - Link tag archives from related product pages, so a "retinol" product page can point to
/blogs/skincare-guides/tagged/retinol/ - Build pillar posts that link out to cluster posts, and have cluster posts link back, since internal linking between pillar and cluster content is what actually drives topical authority on Shopify, not the URL structure itself
- Add BreadcrumbList schema to blog and post templates, and write distinct meta titles for each container page rather than letting Shopify's defaults repeat across blogs
A topic cluster model built from one pillar post and five to eight supporting posts, all cross-linked, tends to outperform a scattered set of unconnected posts even when total word count is similar.
Fixing Tag and Archive Problems
When a tag archive looks empty or a post doesn't show up where expected, check the tag spelling and slug first. A trailing space or inconsistent capitalization creates a duplicate tag that splits your archive.
- Confirm your theme's template actually renders
tag.liquidor an equivalent tag archive layout - Test pagination on high-volume tags to make sure older posts aren't getting buried
- If your theme doesn't surface tag pages at all, edit the template directly or use an app to build category-style landing pages
Call a developer for template-level fixes; an app is a reasonable shortcut only when you need a landing page fast and don't have design changes to make.
Where an Editor Built for Shopify Blogging Helps
Managing containers, tags, and redirects by hand works, but it's easy to lose track once you're publishing weekly. A Shopify-native blog editor that scores SEO and suggests internal links as you write removes a lot of the guesswork.
- In-editor SEO and UX scoring flags thin content before it publishes
- Internal-link suggestions connect new posts to existing pillar content automatically
- Bulk audits catch orphaned tags and posts missing category-page links
- Drip-publishing schedules keep a content cluster rolling out on a consistent cadence
Pro Tip: Run a tag audit every quarter. If a tag has fewer than three posts, either add content to it or fold it into a broader tag.
A Simpler Structure Wins in the Long Run
Merchants who fight Shopify's model, trying to force a five-level WordPress-style hierarchy onto blogs and tags, usually end up with broken navigation and orphaned pages. Keep your container count small, your tag list closed, and your internal links doing the heavy lifting.
*— Rodney
Manage Categories and Tags Without Leaving Shopify
Blockpress is built for exactly this problem: it puts SEO scoring, tag governance, and internal-link suggestions inside the same editor you're already using to write posts, so you're not juggling three separate apps to replicate what one tool does natively.
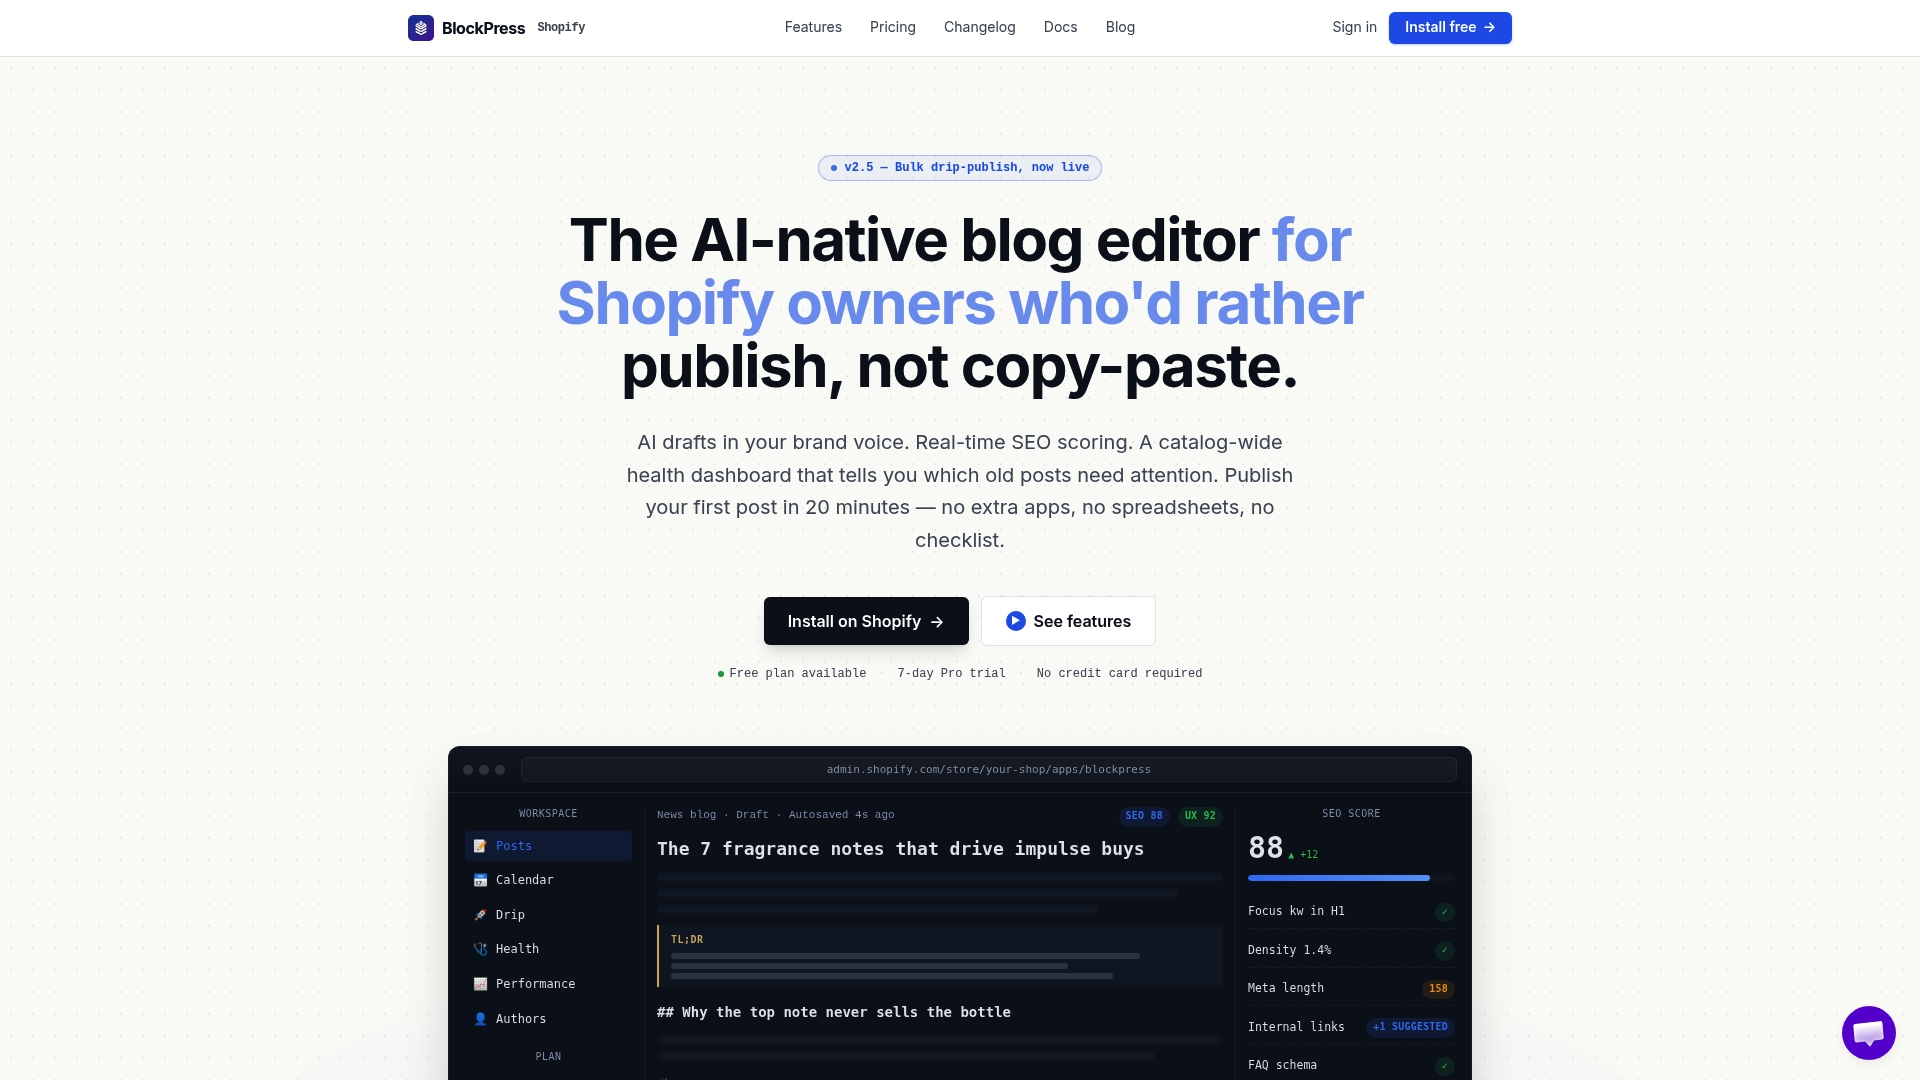
Instead of guessing whether a tag has enough posts to earn its own archive, Blockpress flags thin tag pages during your audit. Instead of manually hunting for pillar posts to link back to, it surfaces suggestions as you draft. Instead of publishing one post at a time and hoping your cluster comes together, bulk drip-publishing rolls out a whole content plan on schedule. Every feature runs inside your Shopify admin, so there's no separate login and no exporting data between tools.
If you're planning a new blog container or cleaning up an existing tag mess, start with the BlockPress editor and check the pricing page to see which plan fits your publishing volume.
Sources
- Working with blog posts — Shopify Help Center
- Shopify blog: how to use the blog for your online store — Shopify Blog
- Shopify blog categories and tags: containers, /tagged/ URLs, and the thin-archive trap — ShopifyRanked
FAQ
What is the 80/20 rule for blogging?
It suggests roughly 80% of your posts should be informational or educational, with about 20% directly promotional, keeping your blog useful enough that readers keep coming back instead of feeling sold to.
What are the categories of blogs?
Common blog types include how-to guides, listicles, product roundups, case studies, and news updates. On Shopify, you organize these types using separate blog containers or tags rather than a formal category system.
Does Shopify have a blog section?
Yes. Every Shopify store includes a built-in blog feature, with a default blog often named "News," and you can create additional blog containers from Online Store > Blog posts > Manage blogs.
What are categories in Shopify?
Shopify has no native post category field. Store owners recreate categories using blog containers for top-level groupings and tags for secondary, cross-cutting filters within each blog.
Can I change a blog's URL handle after publishing?
You can, but every post under that blog inherits the new URL path, so you need to set up redirects for each affected post to avoid 404 errors and lost search rankings.